Patterns referenced in this tutorial:


Tutorial: Drop-in Linings
by Alicia Miller - January 12, 2015
Editor's Note: Some of the photos from this tutorial did not copy over during the Great Website Transition of 2022. We are working on restoring / replacing those, but please do get in touch in the meantime if you have difficulties with any part of this tutorial. Thank you!
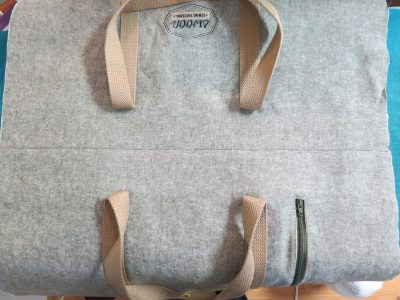
I love drop-in linings. LOVE love. But I know that isn’t a shared sentiment by the majority. They do take practice to perfect but once you do, they’re easy and can look very professional. All of the Swoon patterns with a top zippered gusset instruct you to install the linings this way, as well as Dallas and Blanche.
I thought I’d write up a tutorial about how I do mine. And THE Erin from Diedelbug Handmade (the bag-making wonder herself) was kind enough to share photos of her process as well. I photographed installing the zipper on the exterior with Dallas and Erin photographed sewing in the lining with Blanche. Both bags are done exactly the same way.
Installing the Zipper
1. You’ll have two top panels, or main panels.
Mine are the Dallas main panels with the handles pinned out of the way.
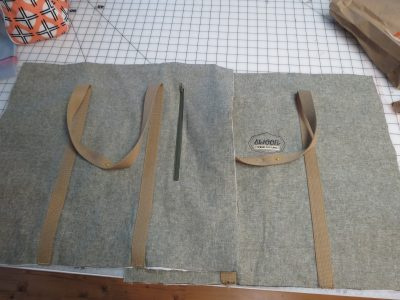
2. Pin the top straight edges right sides together (the top edges will be the edges with a 1/2″ fleece or foam gap).

3. Sew along the top raw edges at 1/2″ seam allowance (for Vivian, you sew at a 1″ seam allowance), but only for 1/2″ or 1″ (depending on the pattern) at a regular stitching length – about between 2 and 3 for me.
Backstitch then stitch again.
4. Change your stitch length to a basting length, 4 for me, and continue sewing along the top edge.

5. Stop 1/2″ or 1″ from the end and change back to your normal stitch length.
Sew to the end, backstitch and stitch again.
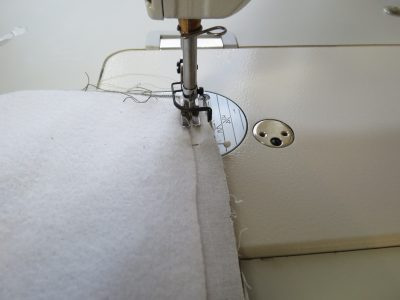
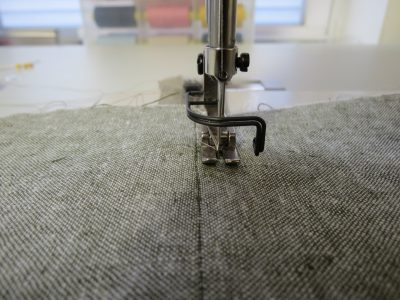
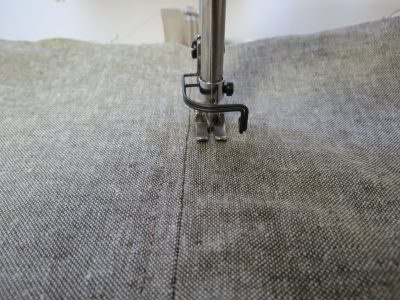
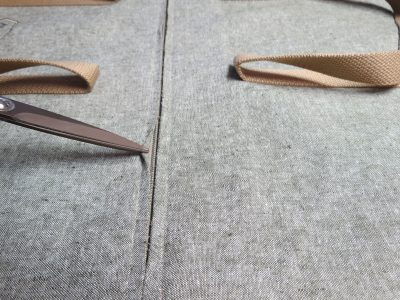
6. Open your main panels and lay flat wrong side up on your ironing board.
Press the seam allowance open.
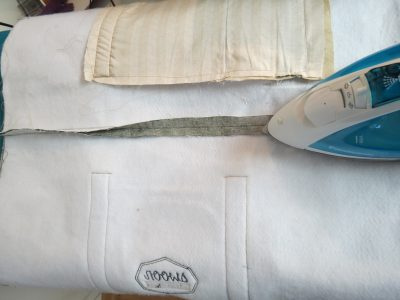
7. Flip right side up and press the seam again.
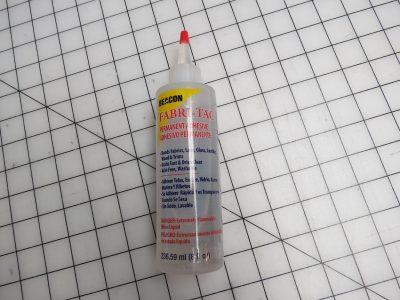
This is Fabri-tac. It’s amazing! It can be sewn through and stays flexible when dried.
I’ll be using this in the next step but pinning is fine too.
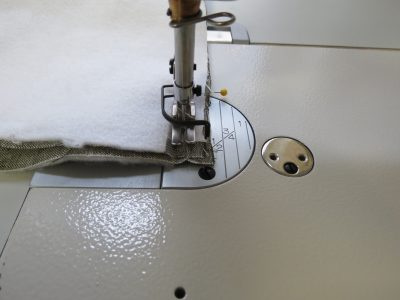
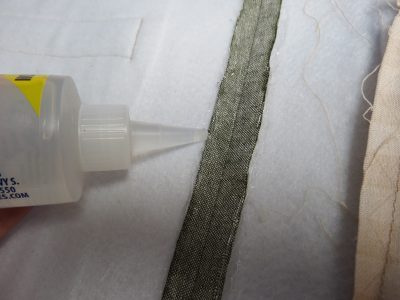
8. With the wrong side up, run a thin line of fabric glue along each raw edge of the seam allowance. Don’t use too much.
This will both hold the zipper in place while it’s sewn on and prevent the fabric from fraying.
You can skip the glue if you pin your zipper as instructed. Glue is just a great time saving short cut.
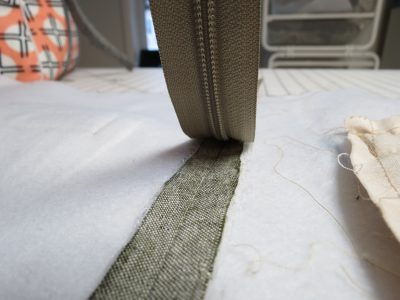
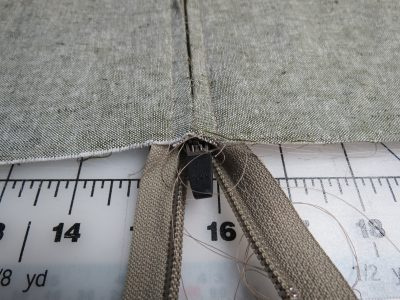
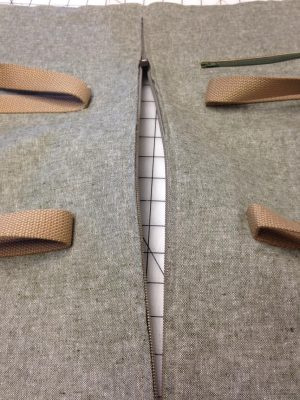
9. I always use a longer zipper than needed then trim the ends after it’s sewn on.
Start at one end of the seam and center the zipper teeth right over the seam (top of the zipper down), leaving an inch or two of the zipper hanging off the edge of the panels.
Push the zipper trim down so it adheres.
Then work your way down to the other end of the seam, centering the teeth as you go.
10. Flip right side up, and give it a quick press with steam to set the glue (or just wait 15 minutes or so).
With a longer stitch length (3.5 for me) and using your zipper foot, sew down the right side of the seam from either end of the zipper about 1/4″ from the seam.
Backstitch at start and stop.
It really helps to use a thread color that will blend in best with your fabric.
If your zipper isn’t longer than the seam it’s over, you’ll need to move the zipper pull when you get to it.
Just leave the needle down, lift the presser foot, and slide the pull out of the way.
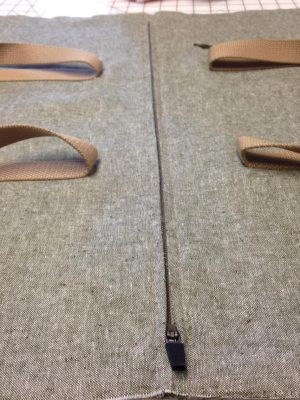
11. Flip the panel 180 degrees and sew down the other side of the seam, starting from the opposite end of the zipper.
12. My thread is a little hard to see here but you should have one line of top stitching on each side of the seam.
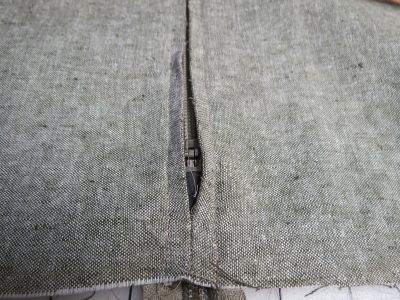
13. Now take your seam ripper and remove the machine basting over the zipper teeth.
Be careful not to seam rip the two 1/2″ (or 1″) ends!
14. Now you need to move the zipper pull under the stitching and into the zippered opening.
Just slide it underneath.
15. If you used a longer zipper like I did, chop off the ends so they match up with the panels.
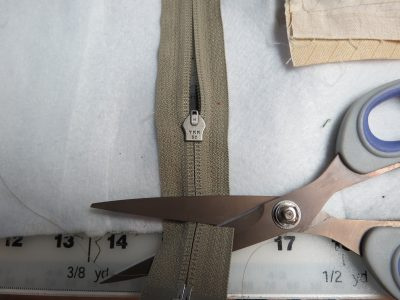
Your zipper is finished and it should look pretty fabulous!
Pull out all the little basting threads poking out of the zipper folds.
Continue to assemble the exterior and lining then come back for the next part.
Installing the lining
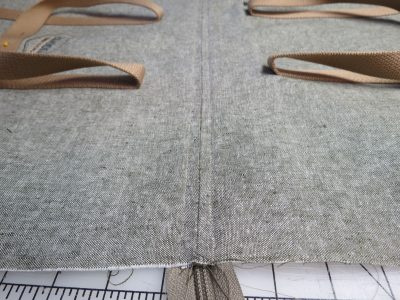
16. You should have one completely assembled lining and one assembled exterior, like Erin has here.
17. Place your lining inside your exterior. They will be wrong sides together.
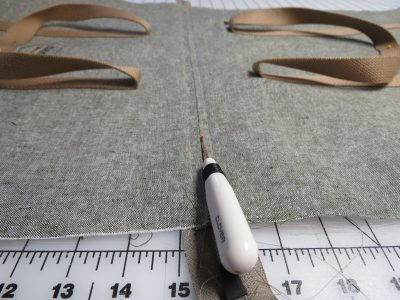
18. Line the opening folds of the lining up with the zipper folds of the exterior.
Start at one end of the opening and pin every inch or two to the other end of the bag.
You can see that the lining folds are matching the exterior folds.
19. If you have a free arm on your machine, now’s a good time to use it!
Slide the bag onto the machine.
20. Start at the end of the zipper, as close as you can get and sew over the very same zipper stitching on the exterior of the bag.
You can see here that Erin gets right to the end of the bag.
Don’t be afraid to show your bag who’s boss. You can always reshape it later on.
If your presser foot has adjustable pressure, set it to press down a little harder. It can be difficult to keep a thick bag from sliding all over the place.
21. Sew the entire way to the other end of the zipper, backstitching just a bit at the end.
Then you’ll just repeat to the other side of the bag/zipper.
I hope this tutorial helps! It’s a great technique and practice makes perfect.
Comments from bagineers:
Janet, "Thanks for the tutorial. It looks difficult, but I HATE having to turn the bag rightside out through the little hole in the lining, so I will definitely give it a try!"
Carolyn, "Thank you for the tutorial! I like this method too."
What did you think of this tutorial?
Do you have a follow-up question about drop-in linings?
Send us an email! >>> swoon@mrs-h.com