Tutorial: Vertical Zippered Pocket
by Alicia Miller, December 22 2014
This is a mirrored blog. Last updated April 22 2023.
There are two Swoon patterns that have a vertical zippered pocket on the outside. I love them, they allow big closed pockets on bags with handles that are sewn all the way down the body. If the “bottom” of the pocket isn’t sewn to the bag though, the pocket will sag with anything inside it. But I have a trick for this. You can add a vertical zippered pocket to any project (with these types of handles) by doing the steps below.
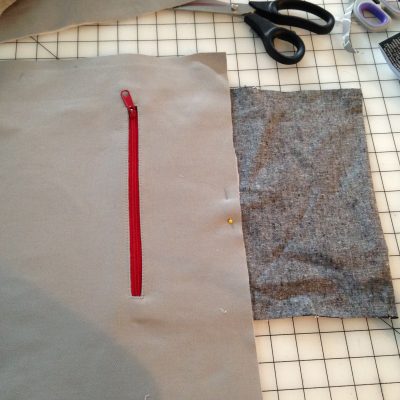
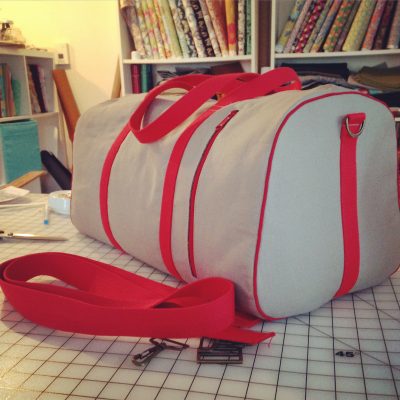
You’ll need to cut a very long pocket panel that is double the length of the zipper placement to the farthest handle end, plus about 6 inches, and 2″ wider than the length of the zipper (the part that will end up exposed). For Dallas, the zipper is 9″ (Editor's Note: 22.86 cm) so I cut a pocket panel 11″ (Ed: 27.94 cm) wide. Of course, all of the cutting measurements are in the pattern instructions.
Please excuse my sloppy photos, I was speed-sewing Christmas gifts.

1. First, you need to measure and mark a vertical rectangle on the wrong side of your main panel, which will be where your zipper will be exposed. If your zipper is small (3mm), you can make the rectangle thinner, about 3/8″. For the medium Dallas Duffel, I used a 4.5mm zipper. So my rectangle is about 1/2″ wide by 9″ tall (1.27 cm x 22.86 cm). I forgot to take a photo of this but it’s pretty self explanatory… basically mark a rectangle wherever you want the zipper to be – measure carefully so that it ends up straight.
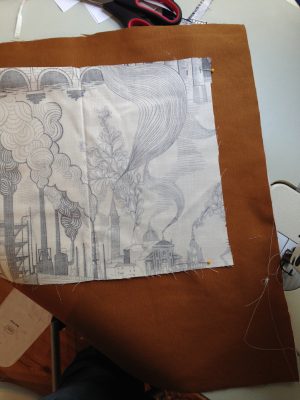
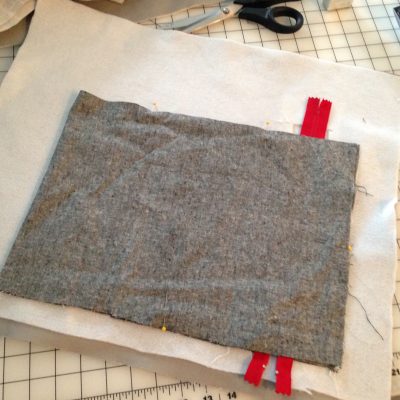
2. Your Pocket Panel should be at least 1″ (2.54 cm) wider than the vertical height of your exposed zipper rectangle. I like it to be 2″ (5.08 cm) wider so it is easier to turn and press and also sew closed in the end. Pin your pocket panel to the RIGHT side of your main panel, going past the rectangle (on the wrong side) on 3 sides. The pocket panel and main panel should be right sides together. It’s hard to know where the rectangle is because it’s on the other side of the main panel, but just fold it over to check after it’s pinned.
3. Now flip back to the wrong side, and sew over the entire marked rectangle with a shorter stitch length. Backstitch at start/stop.
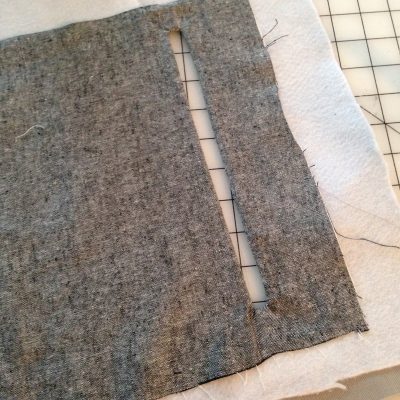
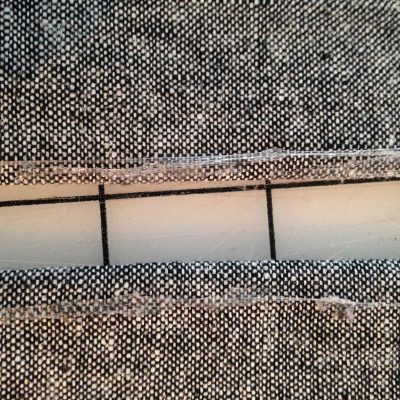
4. Now, cut a line down the center of the rectangle, stopping 1/2″ (1.27 cm) from the ends. Then snip from the cut to each corner, right up to, but not through, the stitching.

Right about here is where I forgot to keep taking photos. Now my fabrics are changing because I had to wait until I had another pocket to do.
5. Pull the pocket panel through the rectangle to the wrong side of the main panel and press flat.
Pull and press until the pocket panel isn’t showing from the right side of the main panel.

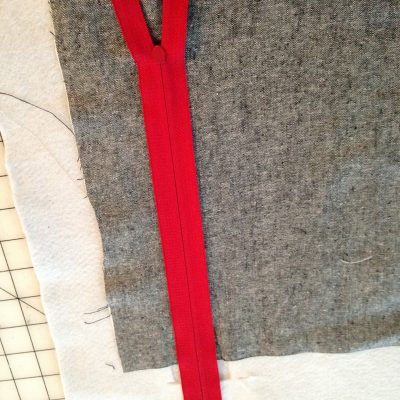
6. Flip back to the wrong side of the main panel. Now we need to attach our zipper. I glue baste the zipper, but pinning works too. I just put a very thin line of Fabritac along each long edge of the rectangle.
Put the zipper face down over the rectangle hole, centering it as best you can, and making sure the zipper pull is inside the hole and that the zipper pull is at the TOP of the main panel. It should be at the top of the bag when closed, and slide downward when opening.
Flip back to the right side of the main panel and adjust your zipper as needed so that it is centered by pushing the teeth left or right with your fingers.
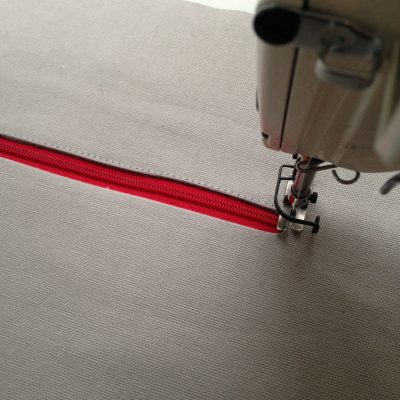
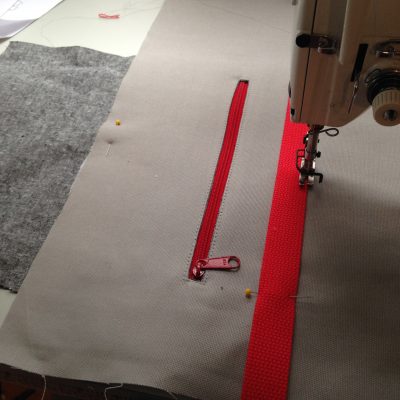
7. First, pin the pocket panel to the main panel so it doesn’t move and get caught in your stitching. Now we need to top stitch around the entire rectangle. You might find it helpful to use a zipper foot but I just use my regular foot for this. Start along one long edge as close as you can get to the zipper pull.
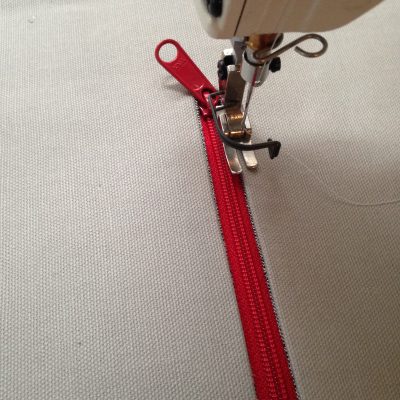
With a longer stitch (3.5 or 4 for me), sew down the long edge. When you get to the end, pivot and sew right over the zipper teeth.
Pivot again and sew down the other long edge of the rectangle, until you get to the zipper pull. With your needle down, lift your foot and move the pull down a few inches.
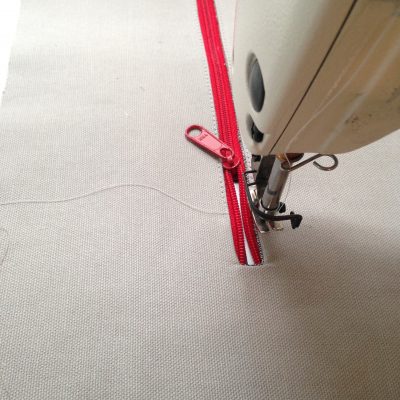
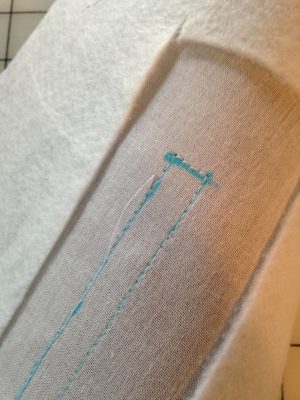
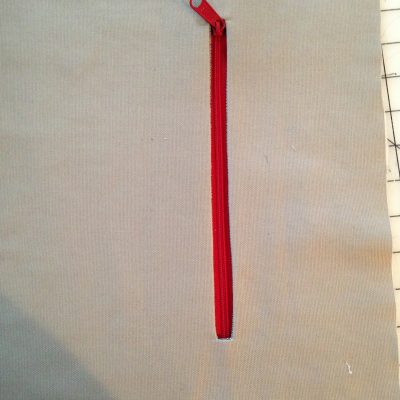
Continue sewing until you reach where you started stitching. Backstitch and you’re done with this part! Check out your installed (and now blue!) zipper.
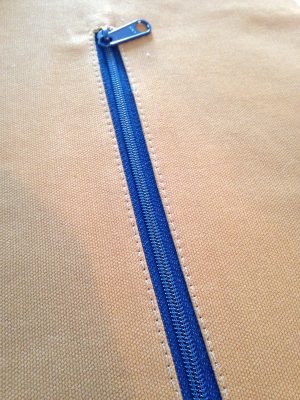
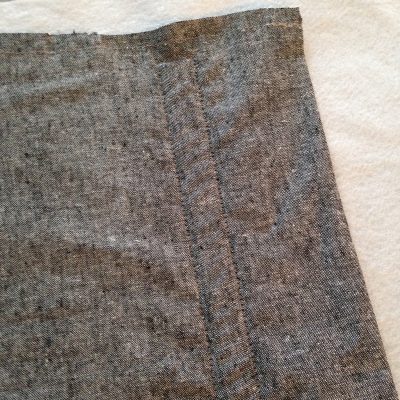
Flip to the wrong side of your main panel and it should look like this.
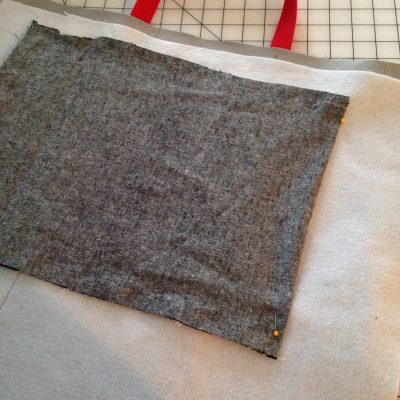
8. Now with the wrong side up, fold the bottom short loose edge of the pocket panel up to match the short edge above the zipper. Press and pin the pocket panel only (not going through the main panel) together.
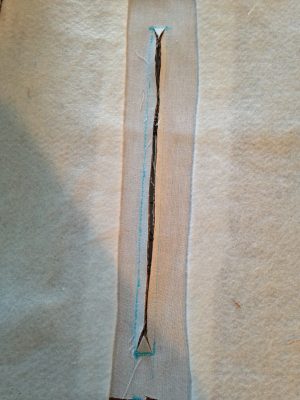
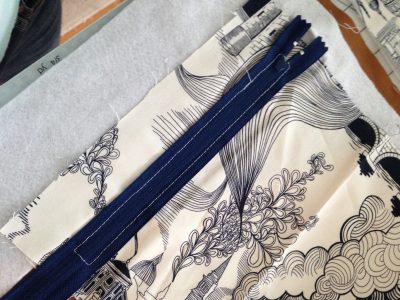
9. Starting at the fold of one long edge, fold the main panel out of the way and sew only the three raw open edges (sides and top) of the pocket panel to enclose it completely.
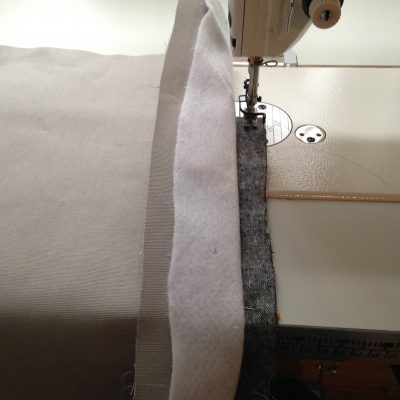
Sew right over the zipper teeth if you are like me and use longer zippers for everything.
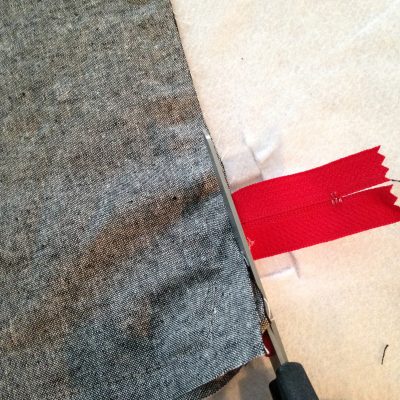
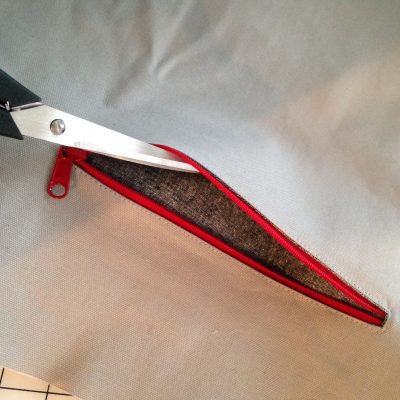
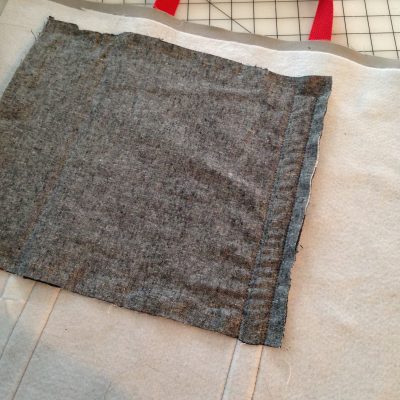
Once your pocket panel is sewn shut, trim the seam allowance. Also trim the ends of the zipper if necessary.
Your pocket is actually DONE now!
Open it, put something in it, and see that it will sag horribly being “sideways”.
Here is how I support the pocket in the Dallas Duffel pattern.
10. First, pin the hanging pocket out of the way – away from the Main Panel!
11. Mark where your handle will go and pin both ends in place (or glue baste as I do).
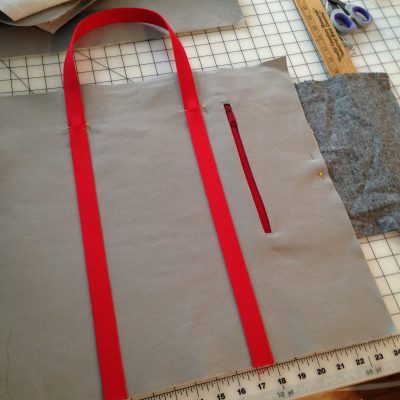
12. Sew to attach ONLY the handle end closest to the pocket to the main panel, making sure you don’t sew through the pocket panel (it should be pinned out of the way so that this doesn’t happen).
13. Unpin the pocket panel and pin it back in place against the wrong side of the main panel.
14. Now flip back to the right side of the main panel and sew to attach the other handle end (the one farthest from the pocket), this time you will be sewing THROUGH the pocket panel (it should be pinned to the wrong side).
After you sew the handle, take a look at the wrong side and you should have sewn through the pocket.
Now try to put something inside the pocket and you will see it’s supported and no longer saggy.
Trim the excess fabric on the pocket panel (past the farthest handle end).
Your vertical pocket is done!

Comments from bagineers:
Gertrude: "Love doing these kind of pockets"
Jandira: "linda bolsa e amei suas esplicaçoes dos tutoriais"
Thank you!
What did you think of this tutorial?
Do you have a follow-up question about vertical zippered pockets?
Ask us on Facebook >>> Swoon Fans Facebook Group
Or, send us an email! >>> swoon@mrs-h.com